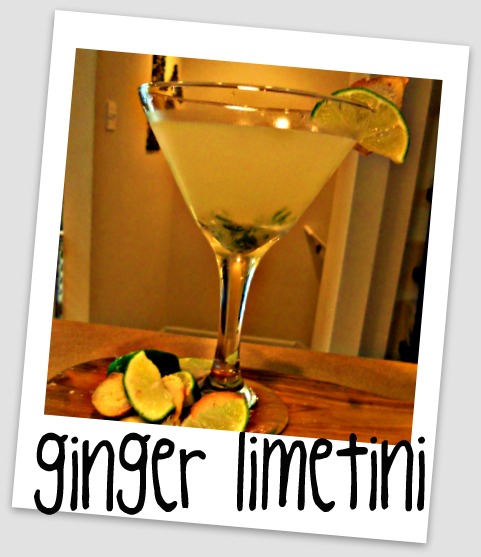
Ginger Lime-tini

Time for a cocktail! This drink was inspired by one of my girls, who took off to Hawaii for a little post-grad vacay….. While I slaved away completing the last few days of my rotations, she was texting me delicious updates via picture messages of the beautiful drinks she sipped on the beach.

There was a magnificent light green cocktail she messaged me….the text read “Can’t read the ingredients, but it tastes like ginger and lime!” With that thorough description, I came up with this, The Ginger Lime-tini. Sounds like she enjoyed her trip and I received many drinkspirations, complete with pictures and a FEW of the ingredients 🙂

Here’s what you need:

  • 2oz vanilla vodka
  • 1.5oz lime juice
  • 1oz simple syrup
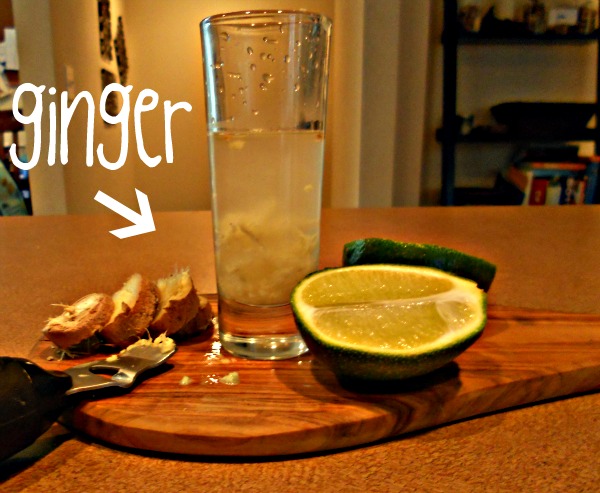
  • 1/4 teaspoon fresh grated ginger

Step 1: “Dissolve” fresh grated ginger in lime juice. The ginger will not really dissolve, but the acid from the juice will pull the ginger flavor into the liquid.

Step 2: Toss lime/ginger mix with simple syrup and vodka into shaker and mix until chilled.

Step 3: Strain into chilled martini glass. Top with grated lime zest.

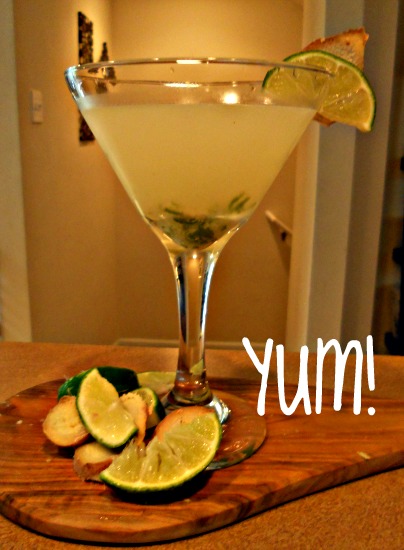
Garnish with lime wedge and sliver of ginger and serve!

This drink is amazing! The ginger flavor adds a crisp and refreshing kick to the traditional vodka-limeaid base of the drink. The perfect summer sippin…so start mixing!

Enjoy!

Posted in Cocktails | Tagged , , , , , , , , , | 3 Comments

Wine-O Corky Coasters

Hey There! Got to some week-night crafting last night, which never happens! But I’ve been dying to do something with all the corks that are piling up….so I threw together these adorable Wine-O Cork Coasters.

We have a cork problem at my house…..meh maybe we have a different problem, but the corks are definately piling up 🙂 Continue reading

Posted in Crafts | Tagged , , , , , , , , , , , | 6 Comments

Pink Lychee Lemonade

Hello there! The sun is shining and it makes me want to start sippin on some lemonade! You can only drink so many vodka lemonades before you need something new and exciting in the mix 🙂

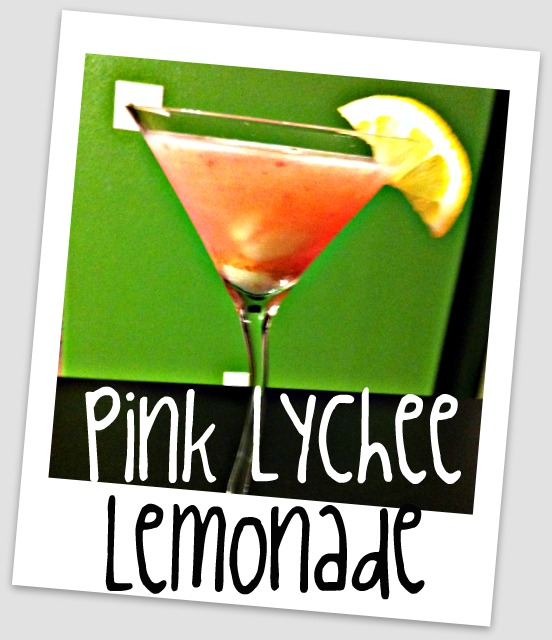
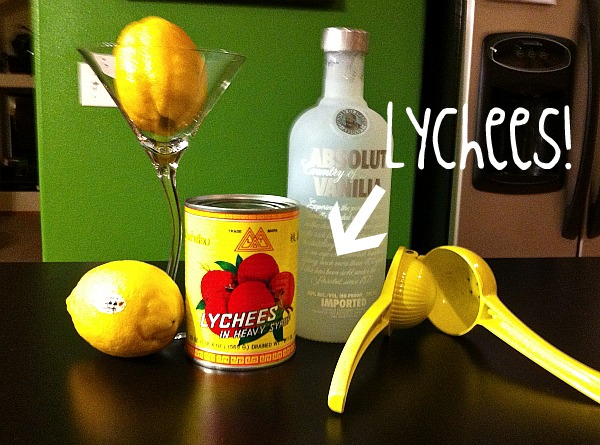
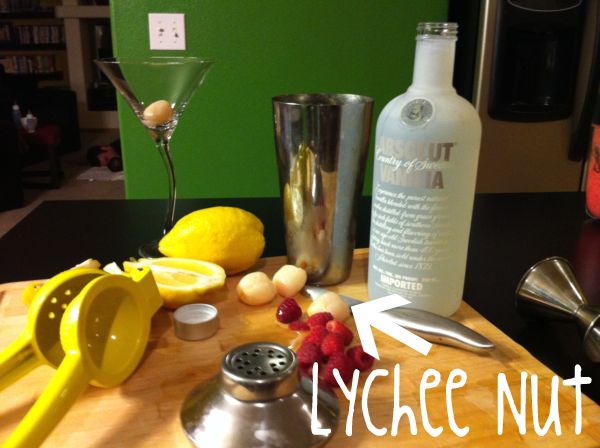
This drink is a variation of a drink at my fave sushi restaurant, their version of lychee lemonade has saki, which I am not as fond of, with lychee syrup and cranberry juice. So I came up with my own version….a blend of lemon, lychee, vanilla vodka and raspberry puree. This sweet and tarte combo resulted in the creation of my Pink Lychee Lemonade!

Here’s what you need:

  • 2oz vanilla vodka
  • 1/2oz raspberry puree
  • 1oz lemon juice
  • 1oz lychee syrup
  • 1-2 lychees

The lychee is a tropical fruit native to china. The edible portion is a smooth white “false-fruit” that surrounds a small inedible black seed (similar to a pomegranate). The edible lychee is contained inside a red, tough and prickly skin.

I found the canned lychees at the local asian market. The come in a can of like a bajillion (maybe 30 or 40) in a lychee syrup, which is and integral part of the drink! The lychee has a sweet and strange, perfume-like scent and taste. Meh I can’t really explain it, but you will LOVE this drink 🙂

Step 1: Blend a handful of raspberries to make raspberry puree. If you want to strain seeds, you can do so with a cheesecloth!

Step 2: Mix clear ingredients in shaker with ice, including lemon juice, vanilla vodka, and lychee syrup.

Step 3: Add in raspberry puree to shaker and mix vigorously. The raspberry puree is kind of hard to work with, but a little goes a long way. After experimenting, 1/2oz seemed to be the magic amount to avoid clotting/chunking, while still giving that raspberry flavor!

Step 4: Strain into martini glass over 1-2 of the lychee fruit nuts, and then serve with lemon garnish.

This drink is so fun and unique! The raspberry and vanilla vodka are sweet and the lemon juice give the drink a tart finish. I was afraid to eat the lychees at first, but after soaking in the drink for a bit, it absorbs part of the cocktail and is like a mini-jello-like alcohol-soaked treasure 🙂

This is the perfect drink for a summer gathering! You could make up a big batch of the raspberry lemonade and have the vodka and lychee separate as a DIY cocktail bar. Give this strange tart treat a try!

Enjoy!

Posted in Crafts | Tagged , , , , , , , , , | 3 Comments

Chunky Pearly Chain Necklace

Hello Readers! Busy weekend….we went to a wedding to celebrate the marriage of our friends “The Hubbards”. Anyways, didn’t leave much time for crafting (or cleaning for that matter….) but I did whip up this adorable necklace for the big day!

This is the simplest DIY jewelry ever….I literally made it on the ferry ride to the wedding. As my husband was laughing and looking at me with disapprovement (“Um why didn’t you just BUY a necklace!?”), I did it! So here’s an idea of how to make your own Chunky Pearly Chain Necklace!

Continue reading

Posted in Uncategorized | Tagged , , , , , , | 7 Comments

Guest Post: Lemon Vodka Passionade

Happy Friday!!! It’s sunny here in Seattle and I have the day off, yay! Wrote a little post for my girl Sarah over at OC2Seattle. This professional power-woman by day, moonlights as a food and travel blogger! I am honored to have been given the opportunity to whip something up for her readers (…and for you of course :).

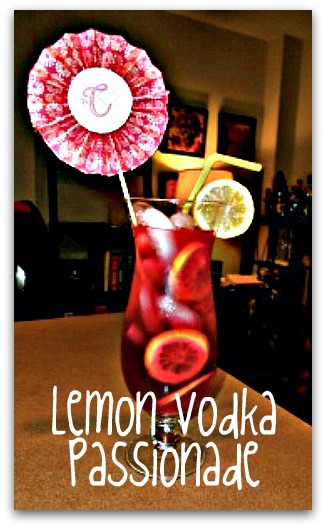
Alright, lemme tell you about this sipping….The PERFECT drink for a sunny summery day like today and an awesome way to start your weekend 🙂 A blend of hisbiscus and orange tea with lemon vodka, oh so refreshing! So what are you waiting for, see what you need to whip up my Lemon Vodka Passionade!

Posted in Uncategorized | Tagged , , , , , , , | 2 Comments

DIY Graduation Announcements

It’s that time of year again….time to take our hats off to the grads! This year, I am one of those grads….FINALLY. I have been nothing but a student my whole life and now I’m moving on to be a real pharmacist, yay! No more moochin off the hubby, time for this wifey to bring in that bacon 🙂 Well, what better way to start the celebration than announcing your graduation to friends and family!?

Graduation announcements are traditional reminders of commencement. There is a range of options from a fancy embossed announcement from the university or photo announcement with the basic info and a grad pic. These announcements can range from $2-7 each, some being more expensive than wedding invitations!! I’m not rollin in the dough yet, so I’m makin my own announcements, and you can too…..

Here’s what you need:

  • White/Cream Cardstock
  • Computer Printer and Ink
  • Colored Cardstock
  • Ribbon
  • Hot Glue
  • Border Stamp
  • Ink Pad
  • Embossing Powder
  • Envelopes

Step 1: Start by drafting your announcement on word or publisher. There are lots of different formats you can use, here’s the format I used:

The Dean, Faculty, and Graduating Class of 2011

Announce the Graduation of:

GRADUATE NAME, DEGREE

GRADUATION DATE

From GRADUATE UNIVERSITY

Step 2: Print off the announcements on cardstock. Print extra because between the cutting and stamping you are bound to make some mistakes 🙂

Step 3: Cutting! Now for the fun part….I suggest you set up in your favorite lounger with a good show and bottle of wine because the cutting is the hardest part! Be sure to leave about 1.5-2″ on the margin of the side you plan to stamp the border on. Here are the dimensions I used:

  • Announcement: 4.5″x6.5″
  • Colored Cardstock: 5″x7″
  • Envelopes: 5.5″x7″

Step 4: Stamp your border! You can choose a fancy border like this or something more classic like a dotted or bold line. If you are not into stamping you could easily just run a ribbon along the border!

Step 4b (optional): Embossing! After stamping, spread embossing powder over the ink. I used a clear glitter embossing powder because I love sparkles 🙂 After shaking off the extra powder, heat and watch the stamped image turn begin to glisten!

Step 5: Add backing colored cardstock to announcement using double stick tape. I used about 3-4 strips per card, covering the border sides.

Step 6: Time for ribbon! You can tie bows, or simply tie a knot as I did here. I love adding ribbon to invites and announcements…just gives it a little more personality 🙂 Fasten each ribbon with a dab of hot glue.

NOTE: You will burn your fingers…..but thats life!

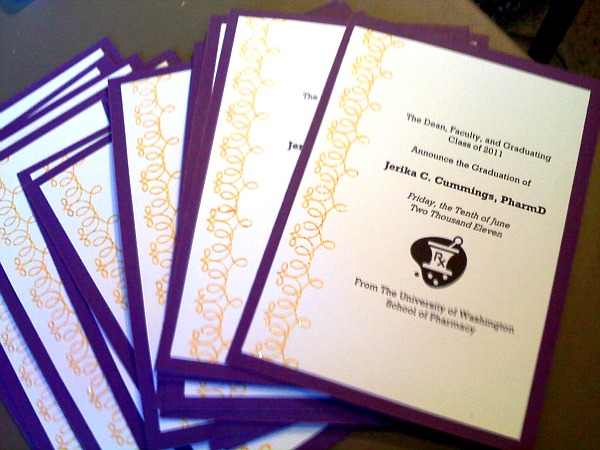
 Here’s my final product! This took me the daytime portions of my weekend, but I was not very focused and there was a lot of socializing involved 🙂 I’m sure you could bang these out in a night if need-be.

Alright, now you have all the info you need to make your own graduation announcements! What do you think, gonna give it a go?? Would love to see your final product…..send me a pic 🙂 

Hats off to the grads of 2011…..WE DID IT!!

Posted in Crafts, Uncategorized | Tagged , , , , , , | 14 Comments

Bloggin Tips: Gettin Font-y With It

Hello there! Had a relaxing weekend brainstorming up some new drinks and projects 🙂 Now onto another week of wishing it was Friday….. I thought I would start the week by continuing my bloggy tutorials! My last tutorial was how to make a blog button, which you can see HERE.

This is a simple tutorial on how to upgrade your font to something new and exciting for FREE! I love to read blogs with different fonts…it adds to your blog’s theme and evens adds some voice to your writing!

If you haven’t already, find your way over to Typekit. This site has hundreds of fonts to choose from and it is very simple to upload them onto your blog! For most blogger purposes, this site allows FREE fonts (up to 2) for 1 website. The cost is displaying a tiny Typekit badge on the bottom of your blog (I think it’s about 10×10 pixels).

Step 1: Start by registering, after clicking the “Register” Button in the upper right hand corner of the site.

Step 2: Next up, choose your fonts. You can choose up to 2 for free with the trial version of Typekit….so choose wisely! This step took me a few hours, but you can always change so don’t be too picky 🙂 Sooooo many fonts… After you choose the fonts you want, click “Add to Kit”.

Step 3: Now, you want to choose your Page Elements…ie which fonts you want where. First click “Launch Kit Editor” in the upper right hand corner. Then under “Page Elements” select your blog “theme” (ie wordpress theme). If your blog theme is not listed, you don’t have to choose one. Then choose which fonts you want for headings vs body.

Now time to link the fonts to your blog!

Step 4a (COMPATIBLE THEME): If you have a compatible blog theme, following along here. If not, move on to Step 4b. In the kit editor, click “Embed Code”. Copy the “Kit ID” and paste it into WordPress under Appearence >> Typekit Fonts >> Typekit ID.

Compatible WordPress Themes: Pilcrow, Contempt, Ambiru, Freshy, Coraline, Kubrick, Ocean Mist, Digg 3 Column, Black Letterhead, and Vigilance.

Step 4b (NON-COMPATIBLE THEME): If you have a non-compatible blog theme, following along here. In the kit editor, click “Embed Code”. Copy the code from the text box below “Kit ID” and paste into your <head> tag, which is found in WordPress blogs under Appearance >> Edit CSS >> CSS Stylesheet Editor. Just paste it into that huge text box with all the CSS Editing info. 

The code should look something like this:

<script type=”text/javascript” src=”http://use.typekit.com/sta1omi.js”></script>
<script type=”text/javascript”>try{Typekit.load();}catch(e){}</script>

NOTE: You must have the WordPress CSS Upgrade to complete Step 4b. If you do not, you can purchase it or choose a Compatible WordPress Theme.

Step 5: Now for the final step….Publish! Click the “Publish” Button in the lower right hand corner of the Typekit Editor.

Now wait a minute or two for the info to be transferred via the magic of the internet and BAM you should have a smokin set of new fonts on your blog!!

Hope this info was helpful 🙂 Happy blogging!

Posted in Blog | Tagged , , , , | 3 Comments

Chile Mango-rita

Happy Cinco de Mayo!! Time to bust out the tequila and your favorite Mexican dishes to CELEBRATE!

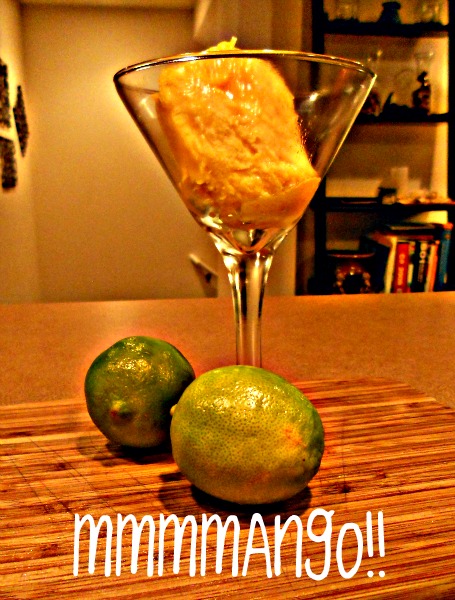
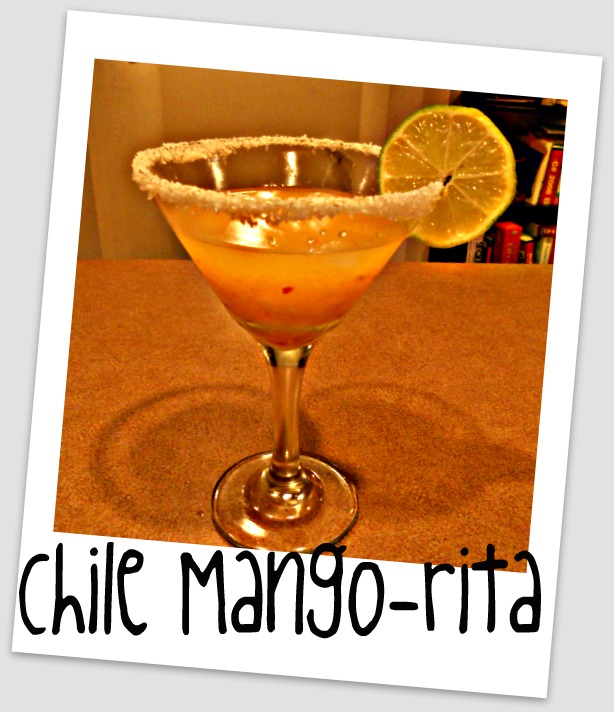
Well, I’ve fashioned a new drink for the holiday and it’s probably gonna knock your socks off, well it did mine anyways 🙂 This drinks is spicy SPICY with a hint of sweet from the puree of my favorite fruit, Mango! So I present to you the Chile Mango-rita…..

Here’s what you need:

  • 3oz tequila
  • 2oz lime juice
  • 1/2 mango
  • 1/4-1/2 tsp red pepper flakes
  • 2 tablespoons sugar

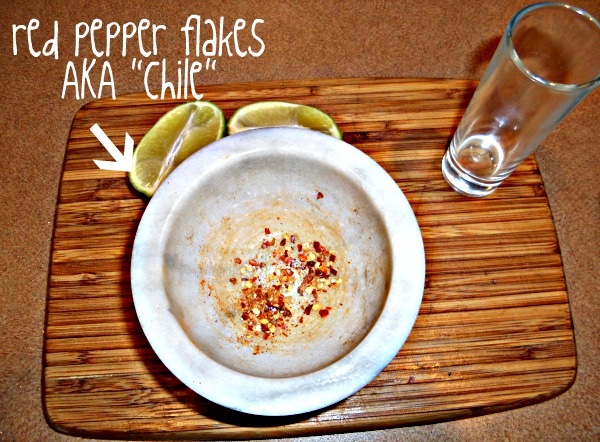
Step 1: Start by grinding the red pepper flakes. I used mortar and pestle but you could throw them in a coffee grinder too, the goal is to get them as fine as possible. You can skip this step and the next if you have chile-infused tequila or another spicy variety, but since I’m a last minute girl I’m instantly infusing the spicy-ness 🙂

Step 2: Mix in tequila with the finely ground red pepper flakes…it should start to turn a light orange color. Then slowly add in sugar.

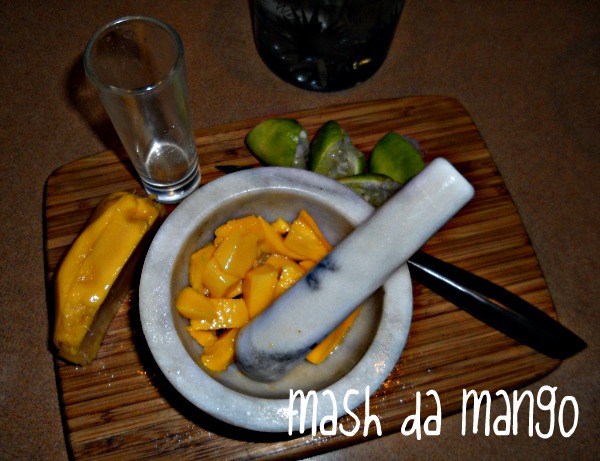
Step 3: Muddle or blend mango into mango puree. If you prefer mango juice, use about 1/4 cup.

Step 4: Toss infused tequila mixture, lime, and mango puree in shaker. Shake it up and pour into salty or sugar rimmed glass!!

This recipe is definately a to your taste since there is an element of spicy-ness to factor! My first round was VERY spicy, so if you’re not sure start with 1/4 tsp per glass.

This drink is really delicious! The spice from the chile takes the kick out of the tequila, and the finishing taste is the sweet mango puree.

What do you think? Gonna live on the wild side and try my spicy mango-ritas??

Happy Cinco de Mayo!

Posted in Uncategorized | Tagged , , , , , , , , , , , | Leave a comment

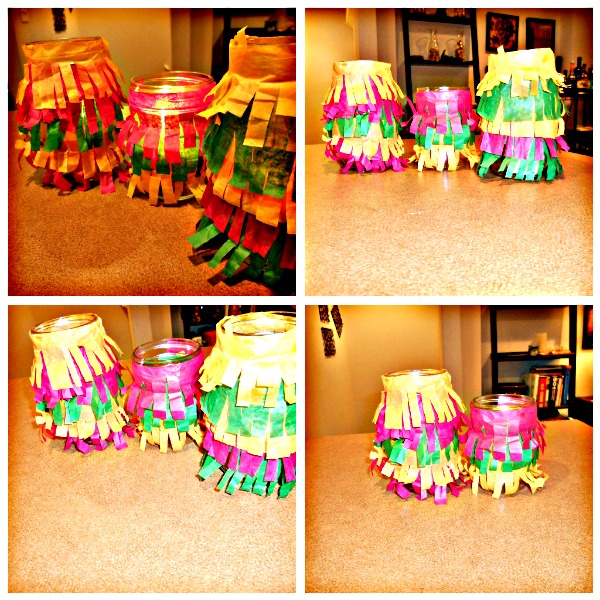
Shaggy Cinco Candle Lanterns

Cuatro de Mayo….getting close to the big day 🙂 Saw some lantern ideas around the blogosphere so I thought I should come up with a little Cinco Decor myself!

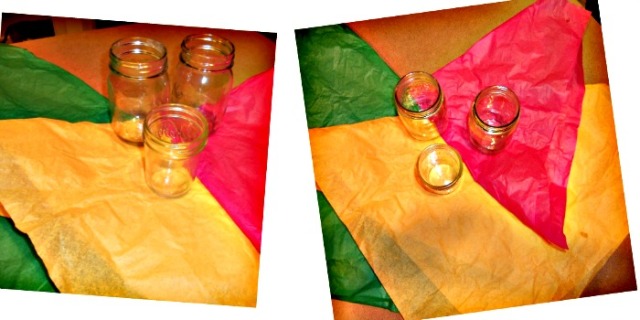
This is a quick and easy idea to give your fiesta a little flair. These Shaggy Cinco Candle Lanterns are beautifully festive, and all you need is tissue paper and mason jars! If you’re not celebrating Cinco, flag this idea for future summer fiestas!

Here’s what you need:

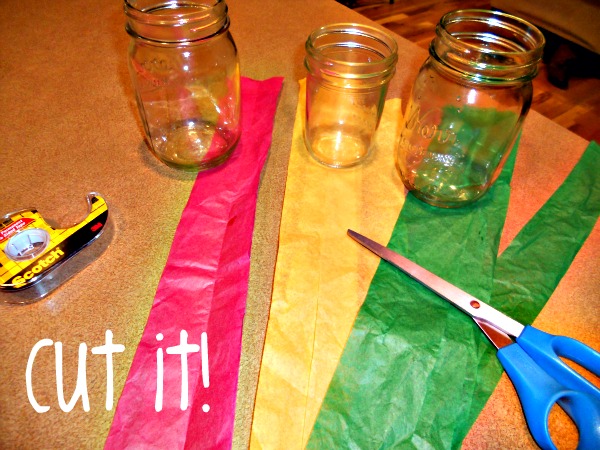
Paper (tissue paper is best, but you could use colored paper as well!)

Jars (Mason jars, glasses, or anything else you have that can hold a candle)

Double-stick tape

Step 1: Start by cutting your paper into 2-3″ strips. I cut mine the length of the tissue paper, the length isn’t as important because you can trim it to fit your jars as needed. Choose fun and bright colors to celebrate Cinco….or if you are hosting a party tie the lanterns into your party theme colors!

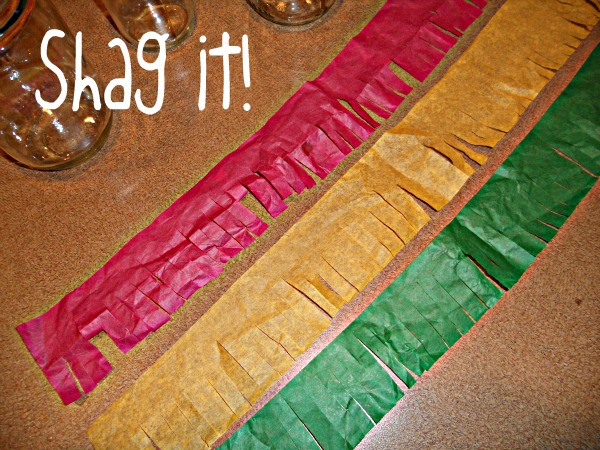
Step 2: Shag your tissue paper strips by cutting small slits along the length of the paper.

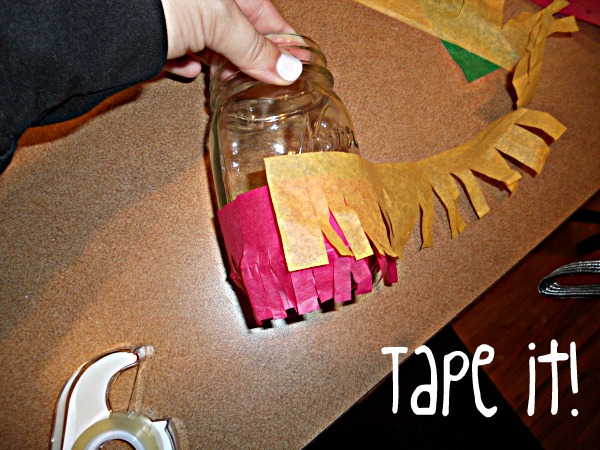
Step 3: Using double-stick tape, fastening each shaggy strip to the mason jar. Start with your first layer on the bottom and work your way up. I placed these about 1/2″ apart, but it will depend on the width of your shag.

When you are finished they should look something like this! I crunched the paper a bit to give it a more “pinata” feel, but you can keep the paper straight for a more sleek or “flapper-girl” like style 🙂

These were very quick and easy! These shaggy lanterns would be perfect decorations for your next gethering as a centerpiece or some mood lighting in the kitchen or even on the patio. Now get to it and do some DIY lanterns, shaggy-style!

Happy Cuatro de Mayo!

Posted in Crafts | Tagged , , , , , | 2 Comments

Tres De Mayo: Mrs. Cummings’ Tequilatastic Drinks!!

Hola amigos!! I almost forgot about my favorite drinking holiday, Cinco de Mayo! Don’t worry…I said almost. Thought I would round up a few tequila favorites so you can hit the liquor store before your big fiesta!

DON’T forget to stop back tomorrow…making up a Chili Mango-rita as my Tequilatastic finale 🙂

CLICK the picture for recipe and directions!!

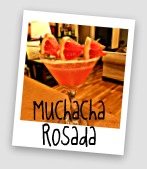
1. Muchacha Rosada: If you like grapefruit and you like tequila, give this little pink partie a try. A grapefruit skewered garnish and a sweet tequila drink is a great way to bring something unique to this year’s Cinco!

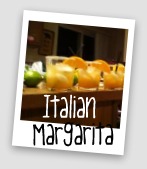
2. Italian Margarita: Try this Italian spin on the old tequila go-to drink. A sweet mix of citrus and amaretto gives all palates a chance to enjoy sippin on that wicked spirit. The lime and orange juice give this drink a nice punch and finish it with sugar on the rim!

3. Tequila Verde: A strange blend of cilantro, mint, and a jalepeno sugar AND salt rim! This drink has depth with all these flavors and is not for the faint of heart (that jalepeno on the rim means business). Another unique cocktail for your Cinco Fiesta!

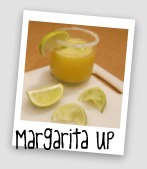
4. Margarita Up! My personal favorite……a sweetie margarita that gives tequila a chance to party martini-style 🙂 The usual margarita ingredients with a hint of simple syrup served shaken with a sugar rim! Te Amo Marg Up!

Well here’s Mrs. Cummings’s Tequilatastic line up…..what will you be doing this Cinco?? And more importantly what will you be drinking 🙂

Posted in Cocktails | Tagged , , , , , , , , , , , | Leave a comment